How to Repot a Peace Lily
If you’re a Peace Lily lover (and many people are) you probably enjoy watching this hardy houseplant thrive. However, as your plants grow, they may outgrow their pots and you may need to learn how to repot a Peace Lily. As far as houseplants go, you can get away without repotting a peace lily, but due to the way they thrive – to get the best from this plant, it’s best to repot when it’s looking like its home has been outgrown.
Don’t worry if you’re worried – repotting a peace lily plant is a simple and straightforward process. In this blog post, we’ll go over all the steps you need to follow to successfully repot your peace lily plant.
Contents
- Choose the right pot
- Prepare the soil
- Carefully remove the plant
- Prune the roots (if needed)
- Repot the Peace Lily
Background Information on the Peace Lily
Before we dive into the repotting process, let’s go over some key things you need to know about Peace Lily plants. A favourite of many households due to the fact that it’s easy to look after shows beautiful flowers and for those with a damp problem (like the Wonky household), it can help absorb excess water from the air around it.
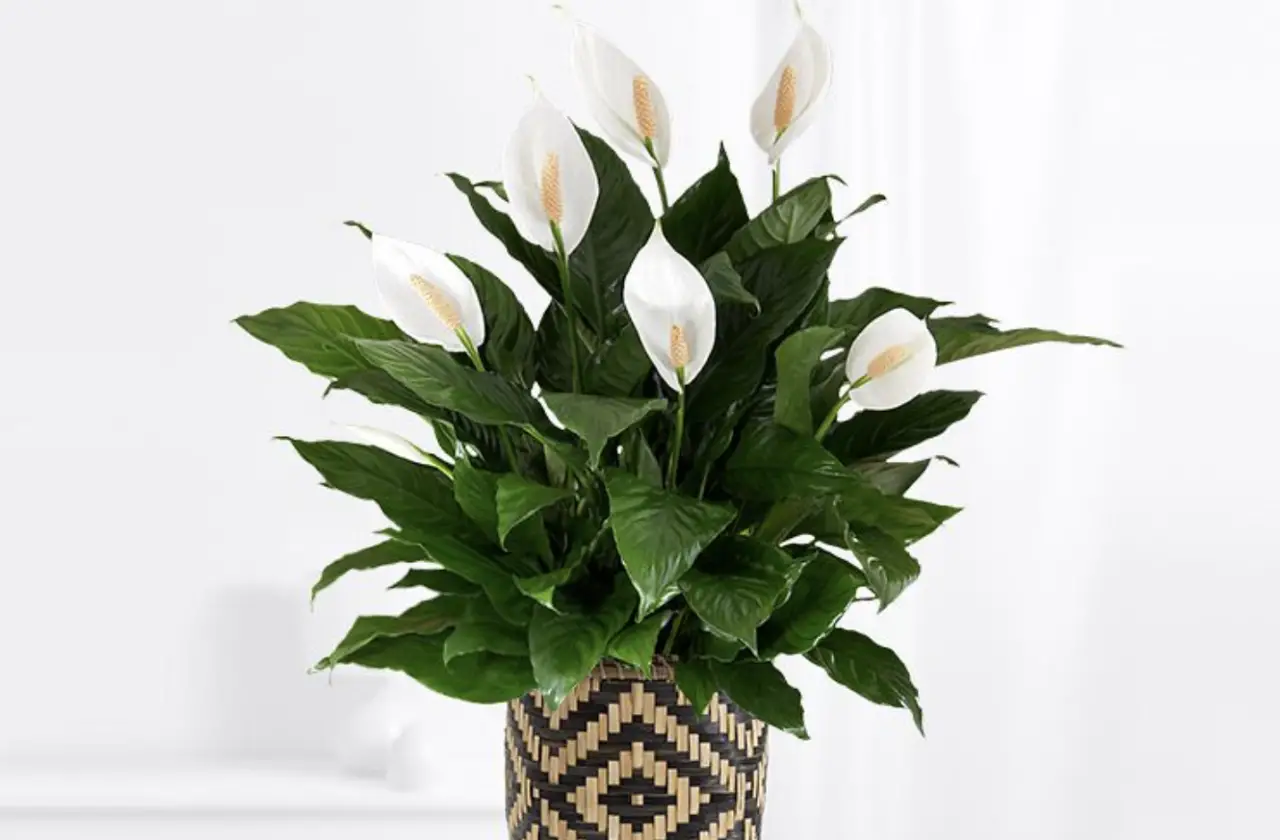
Peace Lily plants, also known as Spathiphyllum, are native to the tropical regions of Central and South America. They thrive in warm, humid environments and are known for their beautiful white flowers and lush, green leaves.
Peace lily plants are popular houseplants because they are relatively easy to care for. They don’t require a lot of sunlight and can tolerate low-light conditions. They also don’t need to be watered frequently and are resistant to pests and diseases.
Despite their easy care requirements, peace lily plants still need to be repotted every few years in order to maintain their health and growth. When it’s time to repot your peace lily plant, here are the steps you need to follow:
1. Choose The Right Pot
The first step in repotting your Peace Lily plant is to choose the right pot. The pot should be slightly larger than the current pot, with enough room for the plant’s roots to grow and expand.
When selecting a pot, make sure it has drainage holes at the bottom to allow excess water to drain out. This is important because peace lily plants are sensitive to overwatering and can easily rot if the soil is too moist.

2. Prepare The Soil
Once you’ve chosen the right pot, it’s time to prepare the soil for your peace lily plant. Peace Lily plants prefer soil that is well-draining and slightly acidic, with a pH between 6.0 and 6.5.
You can use a commercial potting mix specifically formulated for Peace Lily plants, or create your own mixture by combining equal parts of peat moss, perlite, and compost. Make sure the soil is moist but not soggy before planting your Peace Lily plant.
3. Carefully Remove The Plant From Its Current Pot
Next, it’s time to remove your Peace Lily plant from its current pot. To do this, gently tip the pot on its side and lightly tap the bottom to loosen the root ball. Then, carefully lift the plant out of the pot and place it on a flat surface.
If the roots of your peace lily plant are tightly bound and difficult to remove from the pot, you can use a knife or scissors to carefully cut through the root ball. This will make it easier to remove the plant from the pot without damaging the roots.
4. Prune The Roots
Once your Peace Lily plant is out of its pot, take a look at the root ball. If you see any damaged or dead roots, use a pair of scissors to carefully trim them away. This will help promote healthy growth and prevent rot.
Also, if the roots are very long and tangled, you may need to prune them back to encourage new growth, at this point it can be worth washing excess soil and growth off the roots to leave them nice and clean ready for new growth. All of this will help your Peace Lily plant fit better in its new pot and prevent it from becoming root-bound.
5. Repot The Peace Lily In The New Pot
Then it’s time to introduce the plant to its new home, with a layer of your potting mix in the pot already, place the rootball of your Peace Lily in the pot and then start to carefully fill in the rest of the pot with compost.
Remember that Peace Lillies are pretty hardy, but as with any plant – it’s worth taking your time and care with this bit so that you don’t snap any major roots.
Once you’ve topped the compost up, make sure you press down firmly so that the plant is stable and the roots can easily take hold, then give your Peace Lily a gentle watering in its new home.
Conclusion
That’s it – pretty straightforward and when you’re done your Peace Lily will enjoy the extra space it has to thrive and continue being a central piece of any living space as a beautiful houseplant.


